
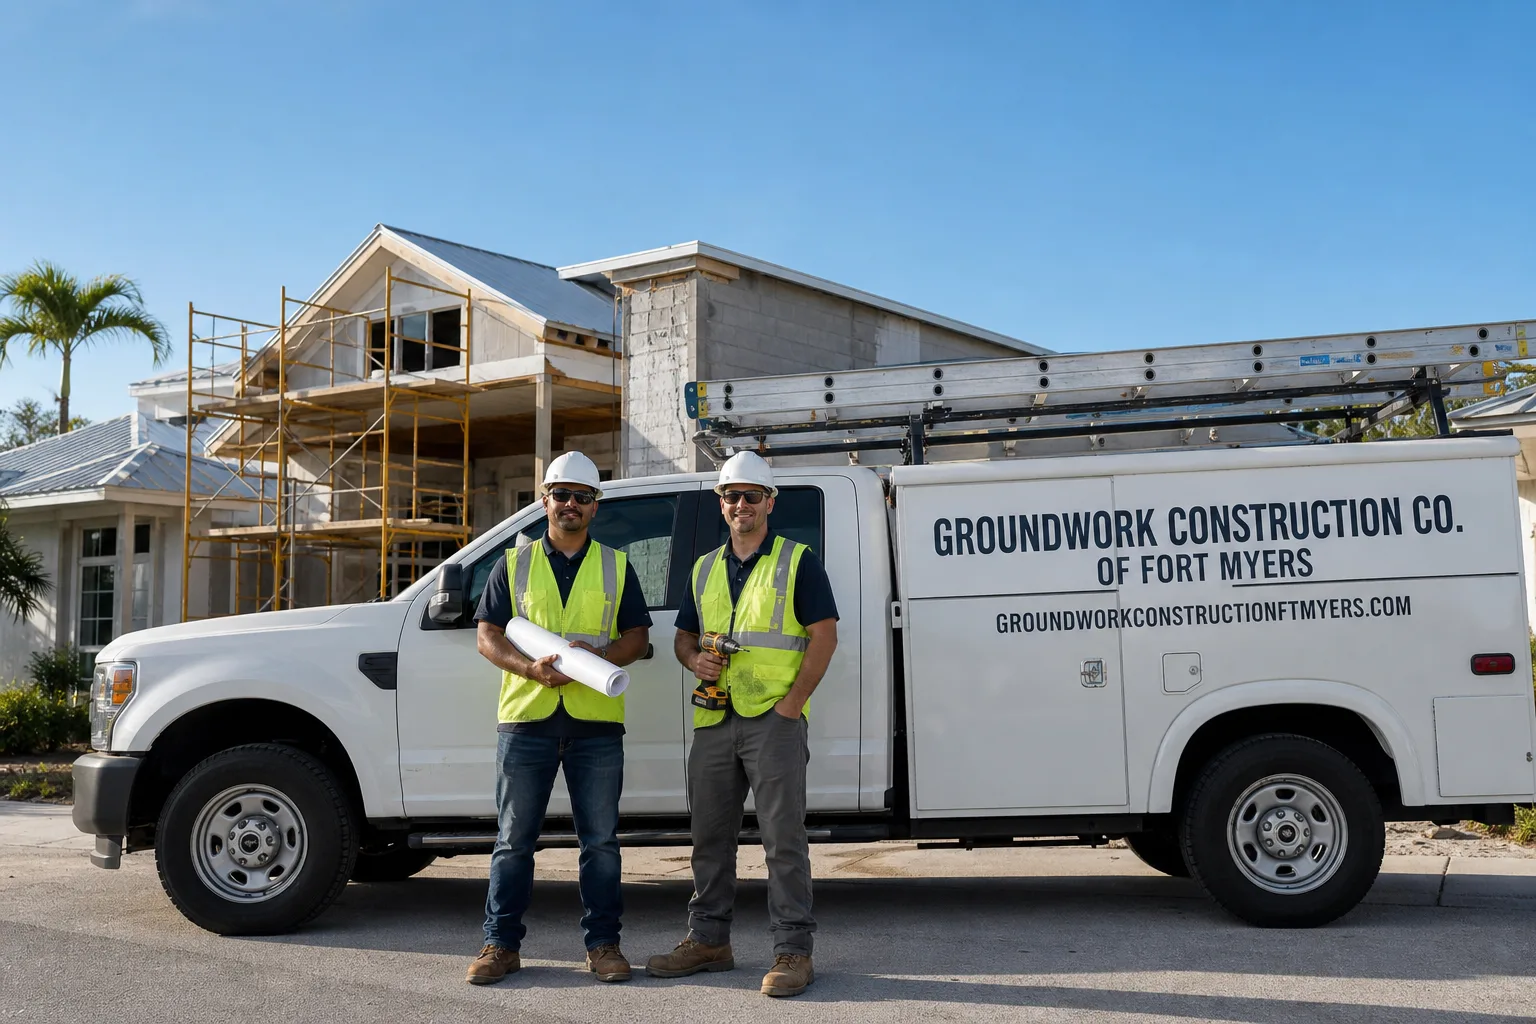
What Backsplash, Tile and Flooring Actually Costs and Takes in Suncoast Estates, FL
Backsplash, tile and flooring installation in Suncoast Estates typically runs between $800 and $2,500 for a kitchen backsplash and $6-$15 per square foot for tile flooring, with most combination projects landing in the $3,000-$8,000 range. The work usually takes three to five days from tear-out to grout sealing. A real person answers at (844) 638-7249 if you want a line-item quote for your specific floorplan, no voicemail black hole.
We see this job every week in Suncoast Estates. It is rarely just swapping out old tile. Most homes here were built in the 1970s and 1980s. The subfloor is often swollen from decades of Gulf Coast humidity, the drywall behind the old backsplash crumbles when you pull the mastic, and the original floor tile was set over wire lath on a mud bed that weighs twice what a modern substrate weighs. The job is part demolition triage, part new installation. That changes the cost and the timeline, which we explain plainly so you can plan around it instead of getting surprised on day two.
How We Handle Backsplash, Tile and Flooring From Day One
The sequence is predictable when you have done it a few thousand times. Here is what the five stages look like on a typical Suncoast Estates job and what you will decide at each step.
Stage 1: On-site measurement and material take-off (day zero). We send a uniformed, background-checked technician to your home in Suncoast Estates. They measure every surface, check flatness with a six-foot level, tap the floor for hollow spots, and note where the subfloor has softened from moisture. You get a written, line-item estimate within 24 hours. This is the moment to finalize tile size, pattern, and grout color. If you are still browsing, we bring sample boards from our partner brands so you can see full-sheet layouts under your own lighting.
Stage 2: Demolition and substrate prep (day one, sometimes day two). Old tile comes out. In Suncoast Estates homes from the pre-2004 code era, this often means removing a one-and-a-quarter-inch mud bed that was standard before lightweight cement board became common. The subfloor gets checked for deflection. Any soft or delaminated plywood gets cut out and replaced. For backsplashes, damaged drywall is removed down to the studs and replaced with moisture-resistant board rated for tile adhesion. We run a laser level to mark layout lines and confirm the first course will not leave a sliver cut at the ceiling or cabinet line.
Stage 3: Layout and installation (days two through four). Tile goes down in the pattern you chose, starting from the focal wall or the longest sightline so the eye hits full tiles first. We back-butter every piece, use clip-and-wedge leveling for large-format floor tile to eliminate lippage, and maintain consistent grout joints. For backsplash, outlets get extended flush with the new tile surface so the cover plate sits clean. Floor transitions to adjoining rooms get a Schluter strip or matching wood threshold, not a sloppy bead of caulk.
Stage 4: Grout and sealing (day four or five). Grout is packed, tooled, and haze-wiped. We use epoxy grout by default on kitchen backsplashes because it resists cooking grease and red sauce stains better than cementitious grout. Natural stone gets a penetrating sealer. The room needs 24 hours of light foot traffic only, and full cure before heavy furniture comes back in. We leave you a care card with the exact grout and sealer used so you know what to buy if you ever need a touch-up tube.
Stage 5: Walkthrough and the 730-Day Done Right Promise. Before we call the job complete, you and the crew lead walk the floor together under raking light. Any lippage, any hairline grout crack, any edge that does not meet your expectation gets addressed on the spot. Then the clock starts on our 730-Day Done Right Promise: if something fails because of our workmanship in the next two years, we make it right at no charge.
This is the same sequence whether the project is a standalone backsplash and floor or part of a full Kitchen Remodeling in Suncoast Estates. The only difference is whether other trades are staged before or after us.
The Tile and Flooring Options You Will Choose Between
Every backsplash and floor job in Suncoast Estates comes down to a handful of real choices that determine look, durability, and cost. Here is what we walk homeowners through:
- Ceramic tile. The most budget-friendly pick, typically $4-$8 per square foot for the material. Glazed ceramic handles kitchen splatter well and comes in a huge range of colors. It chips more easily than porcelain if you drop a cast-iron skillet on the floor, so we lean toward it for backsplashes over high-impact flooring.
- Porcelain tile. Denser, less porous, and more chip-resistant than ceramic. Runs $6-$15 per square foot. The through-body color means a scratch does not reveal a different clay underneath. In Suncoast Estates, where humidity never really quits, porcelain’s near-zero absorption rate matters, especially on floors over a slab on grade that wicks ground moisture.
- Natural stone (marble, travertine, slate). Beautiful and unforgiving. Stone costs $10-$25 per square foot and needs periodic sealing. Acidic spills etch marble instantly. We recommend honed rather than polished for floors in this climate, polished gets dangerously slick with bare feet and Gulf Coast condensation. Stone is a better fit for a backsplash focal wall than a full kitchen floor in most Suncoast Estates homes.
- Glass tile. Almost exclusively a backsplash material. Prices range from $15-$40 per square foot. The reflective quality lights up a darker Suncoast Estates kitchen, but the install labor is higher because cuts must be wet-sawn slowly to avoid chipping the edges. We use a white thinset behind glass so the adhesive color does not ghost through the tile body.
- Subway vs large-format layout. Subway tile, especially the classic 3×6, remains the most common choice for backsplashes because it fits any cabinet style and never looks dated. Large-format floor tile, 12×24 and up, creates fewer grout lines and makes a small Suncoast Estates kitchen feel wider, but it demands a dead-flat substrate and costs more in labor per square foot to install without lippage.
When the project extends beyond the kitchen floor, homeowners often pair this with Vanities, Tile & Fixtures in Suncoast Estates to unify the flooring across adjoining bathrooms and laundry rooms with a single material order and install window.
What Backsplash, Tile and Flooring Costs in Suncoast Estates, FL
A standalone kitchen backsplash in Suncoast Estates runs $800-$2,500. Tile flooring for a typical 200-square-foot kitchen adds $1,200-$3,000. A combined backsplash-and-floor project in an average Suncoast Estates kitchen lands between $2,000 and $5,500. Here is what pushes a job toward the high or low end of that range:
- Tile material grade. A basic glazed ceramic subway tile costs a fraction of hand-painted artisan tile or large-format polished porcelain. The material cost swing alone can be $400 to $2,000 on the same square footage.
- Subfloor condition. Homes in Suncoast Estates built in the 1970s and 1980s often have water-damaged plywood or a thick mud bed that must be demolished and replaced with a modern substrate. A rotted subfloor repair adds $500-$1,500 that you do not know about until the old floor comes up.
- Backsplash wall prep. If the existing backsplash was glued directly to drywall with old-school mastic, the drywall face usually tears off with the tile. New moisture-resistant drywall and taping adds $200-$500.
- Pattern complexity. A straight-lay subway backsplash is fast. A herringbone, chevron, or mosaic medallion detail burns two to three times the labor hours and generates more waste from cuts. Expect a 30-50% labor premium for complex patterns.
- Permit scope. A straight finish-surface swap does not require a permit. But if the job scope triggers Lee County’s “substantial improvement” rule, a common post-Ian reality in Suncoast Estates, the permit process and potential elevation requirements become the dominant cost driver. We will tell you honestly on the estimate walk if your project stays under that threshold.
Our written estimate breaks out materials, labor, substrate prep, and waste removal in separate line items. The number you see is the number you pay, no change-order surprise on day three because someone “found” bad subfloor. A real person answers at (844) 638-7249 to schedule a free on-site measurement and quote in Suncoast Estates.
What Suncoast Estates Homes Specifically Do to Tile Work
Suncoast Estates sits at low elevation on the southwest Gulf Coast, and the housing stock is largely single-family and manufactured homes from the 1970s to early 1980s. That combination creates two problems we deal with on nearly every tile job here.
First, pre-2004 construction means the original floor assembly was built before Florida’s post-Hurricane Charley wind-load and impact-resistance code updates. The old mud-bed tile floors are heavy, rigid, and prone to cracking as the house frame settles and shifts with seasonal water-table movement. When we pull those floors, we routinely find the subfloor has wicked moisture from the slab or crawlspace for decades. The repair is not cosmetic. We cut out the damaged section, sister the joists if needed, and lay a modern decoupling membrane that lets the new tile float independently of minor slab movement. Skipping this step in Suncoast Estates guarantees grout cracks within two years.
Second, post-Ian FEMA flood-zone reassessments across Lee County changed the math on what constitutes a “substantial improvement.” If your tile and flooring work is part of a larger permitted scope that exceeds 50% of the home’s pre-improvement market value, the entire structure must be brought into compliance with current Base Flood Elevation. That can mean raising the house, which costs tens of thousands of dollars and is not something a tile crew handles. We flag this during the estimate if we see the project scope approaching that threshold, because we would rather you know before you pull the permit than get a stop-work order later. Our kitchen remodeling crew navigates these Lee County permitting triggers regularly and we can tell you what applies to your address in Suncoast Estates.
Homeowners in Suncoast Estates who are already redoing the kitchen floor will sometimes ask us to continue the same tile into an adjacent bathroom while we are mobilized. It keeps the grout lines continuous and avoids a second mobilization cost later. That is also the moment when a Tub-to-Shower Conversion in Suncoast Estates makes sense to schedule, since the floor is already torn up and the tile setter is on site.
Serving Suncoast Estates, FL - Our Local Coverage Area
We’re based in the Suncoast Estates area and know this community well. Use the map below to see our service coverage - if you’re nearby, we can almost certainly help.
Frequently Asked Questions About Backsplash, Tile and Flooring in Suncoast Estates
A combined backsplash and kitchen floor typically takes three to five working days in Suncoast Estates. Day one is demo and subfloor prep. Days two through four are tile installation. Day five is grout, sealing, and walkthrough. If the subfloor requires structural repair, add a day. We keep you on a firm schedule because we know you are washing dishes in the bathroom sink until the kitchen comes back online.
A finish-surface replacement like swapping out backsplash tile or laying new floor tile over a sound substrate generally does not require a permit in Lee County. The trigger is when the work affects structural elements, electrical, or plumbing. If we cut out a rotted subfloor and sister joists, that crosses into permit territory. We pull permits when required and handle the inspection for you. Call (844) 638-7249 and we can tell you what applies to your specific project.
Yes, we tile up to the cabinet toe kicks and install a quarter-round or shoe molding to cover the expansion gap. This is standard on a standalone flooring job where the cabinets are staying. If the cabinets are being replaced as part of a full kitchen remodel, we tile the entire floor first so the new cabinets sit on top of finished tile. Both approaches work. The right one depends on the scope of your project.
Porcelain tile with epoxy grout. Porcelain does not absorb water, oil, or tomato sauce. Epoxy grout resists staining and never needs sealing. Together they make a backsplash you can scrub with degreaser and never worry about. Glass tile is a close second for cleanability, though it costs more in both material and labor. Natural stone looks beautiful but demands more maintenance than most Suncoast Estates homeowners want to sign up for in a high-use kitchen.
Yes. Every tile backsplash and flooring installation we complete in Suncoast Estates is covered by our 730-Day Done Right Promise. If a grout joint cracks, a tile loosens, or the subfloor fails because of our workmanship within two years, we come back and make it right at no cost to you. We put that in writing because we have been doing this for over 42 years and we stand behind what we install.
Get a Free, Line-Item Estimate for Backsplash, Tile and Flooring in Suncoast Estates
We send a uniformed, background-checked technician to your home in Suncoast Estates to measure, check the subfloor, and walk you through material options with sample boards in hand. You get a written estimate that breaks out every dollar so you know exactly what you are paying and why. No pressure, no vague round numbers, no change orders later. We also offer 0% financing for 18 months and $1,000 off projects over $10,000. Call (844) 638-7249. A real person answers, 24/7.
Written by Derek Hollenbeck, Owner at Groundwork Construction Co., serving Suncoast Estates and the surrounding Lee County communities.